Group photos have become a staple of every social event, family gathering, corporate retreat, or milestone celebration. Whether you’re capturing memories at a wedding or documenting your team’s success at the office, a great group photo does more than just show who was present—it tells a story. But achieving that perfect shot takes more than a quick click of the shutter.
From lighting and composition to coordination and connection, there are several components and requirements that come together to create a truly great group photo. In this blog, we’ll explore these elements in detail so that the next time you’re called upon to be the designated photographer—or just want your own group to look their best—you’ll be ready to capture something memorable.
1. Preparation Is Key
Before anyone steps in front of the camera, some groundwork needs to be laid.
Understand the Purpose
Every group photo has a purpose. Is it formal or casual? Is it for marketing, social media, or a personal memory? Understanding the context helps determine the tone, style, and technical setup required.
- Corporate Team Photo: Needs clean composition, good lighting, and often neutral backgrounds.
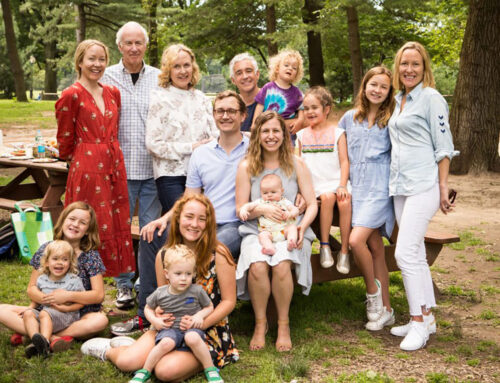
- Family Gathering: More relaxed, candid shots may work better.
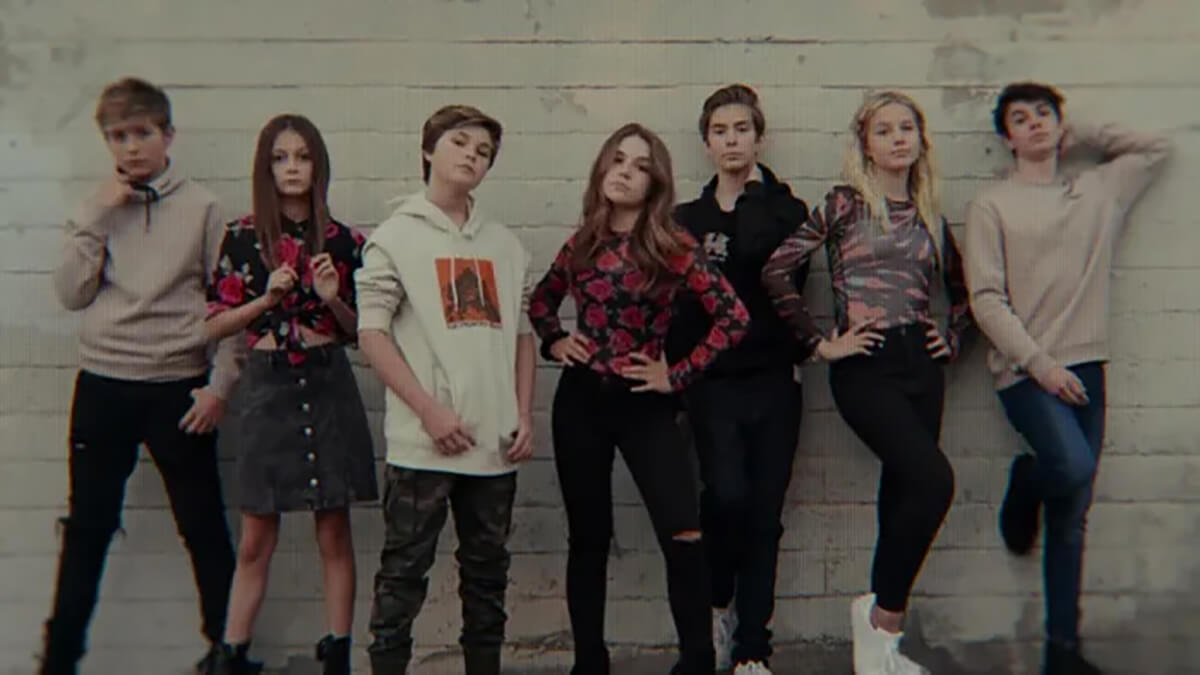
- Friends at a Party: Informal, fun poses, props, and playful composition.
Scout the Location
Choose a setting that suits the purpose and accommodates the size of the group.
- Indoor vs. Outdoor: Indoors may need artificial lighting, while outdoor shots need time-of-day consideration (e.g., golden hour).
- Clutter-Free Background: Make sure nothing in the background distracts from the subjects.
2. Lighting: The Heart of Photography
Lighting can make or break your group photo. It defines the mood, brings out details, and ensures everyone is visible and flattering.
Natural Light
- Golden Hour (shortly after sunrise or before sunset): Soft and flattering.
- Midday Sun: Avoid harsh overhead light which can cause deep shadows; try to find shade.
Artificial Light
If shooting indoors:
- Use softboxes, ring lights, or LED panels for even lighting.
- Avoid mixed lighting (e.g., fluorescent + natural) which causes color balance issues.
Even Lighting Across the Group
Make sure light reaches everyone equally—especially in large groups. People on the edges shouldn’t be in the dark.
3. Camera and Equipment Essentials
You don’t always need a DSLR to take a great group photo, but knowing your tools helps.
Camera Choice
- Smartphone: Great for casual, well-lit situations. Use wide-angle mode for large groups.
- DSLR/Mirrorless: Ideal for professional results, better lens choices, and depth control.
Tripod
A must-have if:
- You need stability.
- You want to use a timer or remote to be in the shot yourself.
Lenses
- Use a wide-angle lens (24–35mm on full-frame) for large groups.
- Avoid extreme wide-angle lenses unless necessary—they can distort faces at the edges.
Remote Shutter or Timer
This ensures no one is left out and eliminates shake from pressing the shutter button.

4. Composition and Framing
How you compose your photo greatly affects its visual appeal.
Rule of Thirds
Place key elements (like the central person or couple) along the thirds of the frame to create balance.
Symmetry
Group photos often benefit from symmetrical arrangement—especially formal shots.
Leading Lines
Use elements like railings, pathways, or arm positioning to subtly guide the eye toward the center or focal point.
Balance and Spacing
- Don’t cram people in or leave large gaps.
- Aim for equal spacing unless going for a more candid, unstructured look.

5. Posing: The Art of Arrangement
How people are arranged—and how they stand or sit—can turn a messy group into a cohesive whole.
Size and Height Considerations
- Taller individuals in the back.
- Use risers, stairs, or levels (e.g., sitting in front, standing behind) for big groups.
Natural Interaction
Encourage light interaction: looking at each other, leaning in, or light touches (shoulder, waist). This helps the photo feel alive.
Avoid the “Straight Line”
Unless intentional, a straight row can look dull. Instead, stagger people in layers or arcs.
Hands and Feet
- Ask people to avoid placing hands in pockets (or do it uniformly).
- Watch for awkward hand placements or crossed arms.
- Feet shoulder-width apart look more grounded.
6. Facial Expressions and Connection
A great group photo feels alive. That means faces and emotions matter.
Genuine Smiles
People can spot a fake smile instantly. Get people to relax and laugh. Use light humor or a moment of connection before the shot.
Engagement
Make sure everyone is:
- Looking at the camera (unless candid).
- Eyes open (take multiple shots to avoid blinks).
Avoid Distractions
Remind group members to:
- Put away phones or drinks.
- Remove sunglasses if needed.
- Look at the camera—not someone else’s phone.
7. Managing Large Groups
Larger groups present unique challenges. Here’s how to manage them:
Appoint a Helper
A second person can help direct people, check for closed eyes, fix hair or clothing, and keep things moving.
Use Levels
Use stairs, benches, or chairs to stagger people.
Break It Down
Take several smaller group photos in addition to the big one—departments, families, friends, etc.
Multiple Shots
Always take several shots in quick succession—people blink, look away, or shift posture.

8. Post-Processing and Editing
Even a great raw photo can benefit from light editing.
Basic Adjustments
- Exposure and contrast.
- White balance correction.
- Cropping and straightening.
Retouching
- Remove blemishes or distractions in the background.
- Light skin softening or color correction (use sparingly).
Black and White Options
A monochrome version of your group shot can often have a timeless, elegant feel.
9. Common Mistakes to Avoid
- Unflattering Angles: Shooting from too low can distort faces; too high and people look short.
- Poor Timing: Someone’s mid-blink or mouth open mid-sentence? Time your shots carefully.
- Overcrowding: If people are too close, it feels claustrophobic. Give everyone some room to breathe.
- Ignoring the Background: A cluttered or distracting background can ruin the entire photo.
10. Bonus Tips for a Memorable Group Photo
Make It Fun
Props, inside jokes, coordinated outfits, or themes can add personality and make the photo memorable.
Encourage Coordination
Color themes (e.g., white tops and jeans) or formal dress codes can bring unity without being too matchy-matchy.
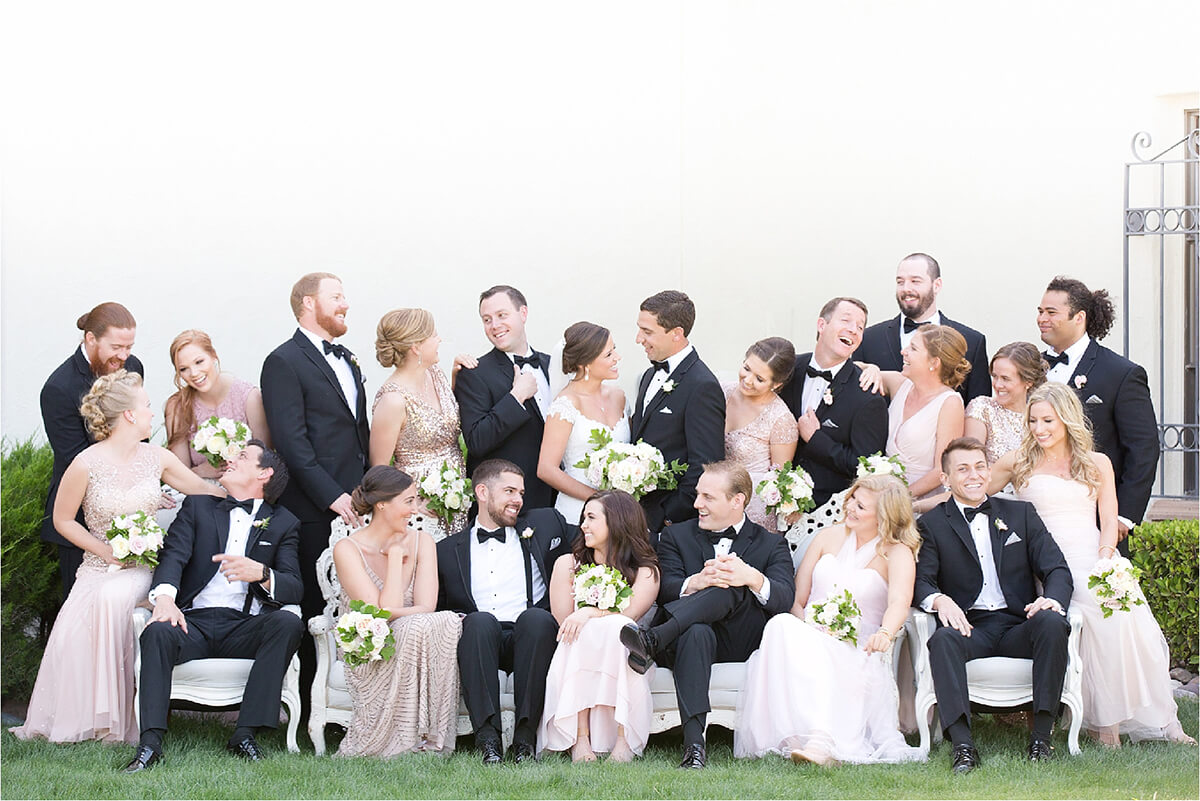
Use Candid Moments
Not every group photo needs to be posed. Some of the best group shots come from capturing genuine moments between friends or colleagues.
Final Thoughts
A great group photo is part planning, part artistry, and part people skills. It’s about more than just pressing a button—it’s about orchestrating light, mood, and human connection into a single frame. Whether you’re photographing a family reunion, a bridal party, or your office team, focusing on the fundamentals—lighting, composition, posing, and interaction—will dramatically improve your results.
Remember, the best group photos don’t just show what people looked like. They capture how it felt to be there, together.
So next time you’re behind the camera, take a breath, guide your group, and click with confidence.
Please join us for future blogs when we expand on the guidelines outlined above.