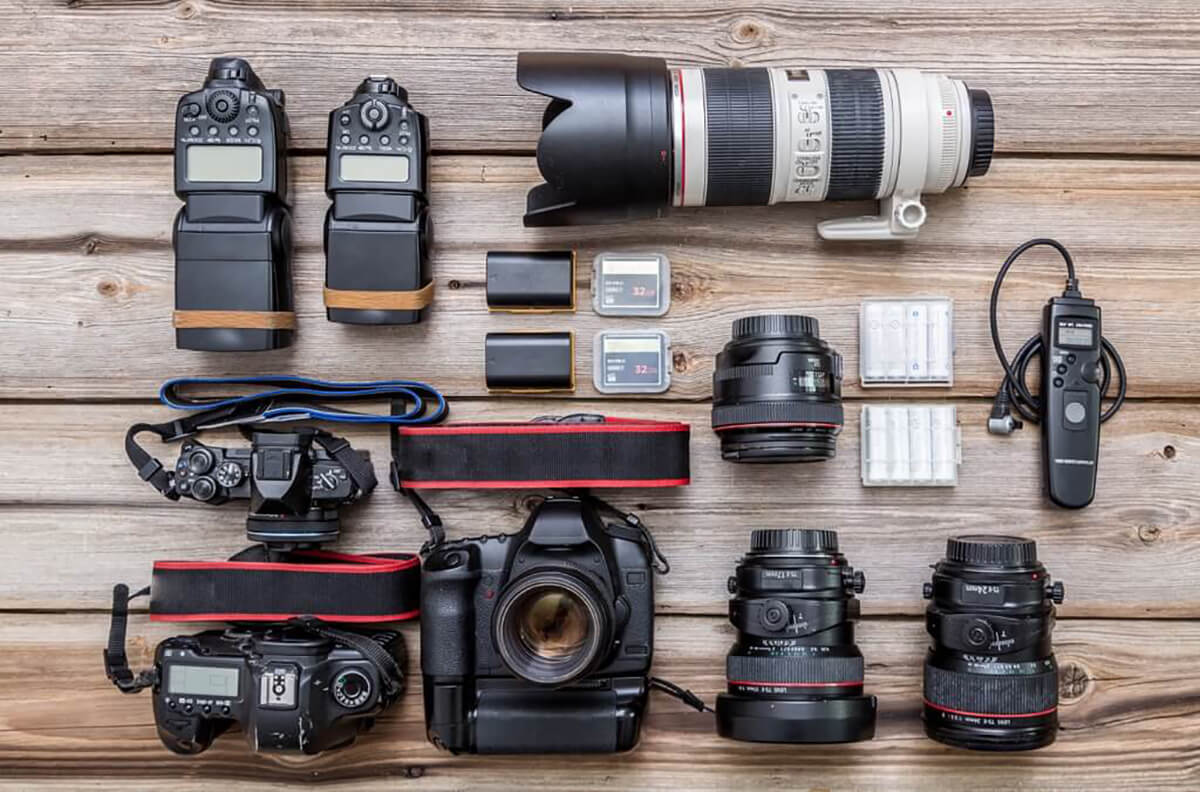
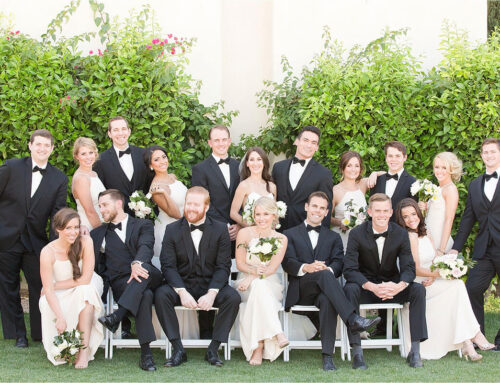
Whether you’re capturing a family reunion, a company event, or just a fun day out with friends, getting a great group photo is an art—and having the right equipment can make all the difference. While it’s true you don’t always need a professional DSLR to take stunning pictures, understanding the tools available to you—no matter how simple or complex—will elevate your photography significantly.
This guide will walk you through the essential gear to consider when photographing groups, from cameras and lenses to tripods and remote shutters. No matter your experience level, the right setup can help you capture images that everyone will cherish.
1. Camera Choice: From Smartphones to DSLRs
Smartphone Cameras: Surprisingly Capable
Modern smartphones are incredibly advanced and often underestimated in photography circles. With multiple lenses, advanced computational photography, and features like portrait and night modes, smartphones are excellent for casual group shots—especially when lighting is favorable.
Best for:
- Casual get-togethers
- Outdoor events with good lighting
- Social media sharing
Pro Tips:
- Use the wide-angle mode if your phone has it (usually marked as 0.5x or Ultra Wide) to fit larger groups in tight spaces.
- Tap to focus and adjust exposure before taking the shot.
- Avoid using digital zoom; it degrades image quality.
DSLR & Mirrorless Cameras: The Pro’s Tools
If you’re aiming for professional-level quality, DSLRs and mirrorless cameras are your go-to. These offer larger sensors, interchangeable lenses, and greater manual control over settings like aperture, shutter speed, and ISO.
Advantages:
- Superior image quality
- Better performance in low light
- Ability to control depth of field (great for background blur)
- Interchangeable lenses for various scenarios
Recommended Settings for Group Shots:
- Aperture: f/5.6 to f/8 (to keep everyone in focus)
- ISO: Keep it low (100–400) for less noise, unless in low-light conditions
- Shutter Speed: At least 1/125s if people are moving
2. Lenses: The Wider, the Better (Within Reason)
Your lens choice has a significant impact on how the group is captured. A good lens can reduce distortion, keep everyone sharp, and make your job easier.
Wide-Angle Lenses (24mm–35mm Full Frame)
For group photography, a wide-angle lens is usually your best bet. It allows you to fit everyone in the frame without needing to stand far away, which can be particularly useful indoors or in crowded spaces.
Ideal focal lengths:
- Full-frame cameras: 24mm–35mm
- APS-C sensors: 16mm–24mm (equivalent to 24–35mm FF)
- Smartphones: Use the ultra-wide or standard wide lens
Avoid Ultra-Wide Unless Necessary
While tempting, lenses below 20mm (full-frame equivalent) often introduce distortion, especially at the edges. This can make people look stretched or unnatural—something you definitely want to avoid in group portraits.
Pro Tip: Keep people toward the center of the frame if you must use an ultra-wide lens, and correct distortion in post-processing if needed.
3. Tripods: Stability and Consistency
A tripod might not seem necessary for a group photo, especially in broad daylight, but it’s incredibly useful—particularly when you want to be in the shot or are working in low-light settings.
Why Use a Tripod?
-
-
- Stability: Ensures sharp images by eliminating camera shake
- Framing consistency: Allows you to maintain the same composition across multiple shots
- Hands-free operation: Essential when using a timer or remote shutter
- Great for low-light photography: Especially if you’re using a smaller aperture and lower ISO
-
Choosing the Right Tripod
-
-
- Compact and portable: For travel and casual shoots
- Sturdy and full-sized: For professional or outdoor use
- Ball head or pan-tilt head: Depends on your comfort with adjustment controls
-
Pro Tip: Always extend the thicker sections of your tripod legs first for maximum stability. If shooting outdoors, hang your camera bag from the center column for added weight.
4. Remote Shutter Release or Timer: Everyone in the Frame
What’s the point of organizing a perfect group photo if the photographer is left out? A remote shutter release or a timer allows you to jump into the shot without rushing.
Remote Shutter Options:
- Wired: Simple, affordable, and reliable
- Wireless/Infrared: Great for basic camera control at a short distance
- Bluetooth-enabled remotes: Compatible with smartphones or modern mirrorless cameras
- Mobile Apps: Many camera brands offer apps that let you control your camera via Wi-Fi or Bluetooth
Using the Timer
If you don’t have a remote, the self-timer function works just as well. Most cameras offer a 2-second and 10-second option. For group photos, 10 seconds gives you enough time to get into position without rushing.
Pro Tip: Take multiple shots using burst mode or interval timers so you can choose the best one later (where no one is blinking!).
5. Lighting Considerations: Natural vs Artificial
Though not part of the “camera” itself, lighting is one of the most critical aspects of group photography.
Natural Light
When available, natural light is your best friend. Shoot during the golden hour (just after sunrise or before sunset) for soft, flattering light.
Avoid:
- Harsh midday sun, which causes shadows and squinting
- Backlighting without a fill flash or reflector
Fixes for tough lighting:
- Use a reflector to bounce light onto faces
- Use fill flash to eliminate shadows
Artificial Lighting
For indoor or low-light group shots, consider using:
- External flash units (bounce the light off the ceiling for soft diffusion)
- LED panels (portable and continuous light source)
- Ring lights (helpful for small groups and evenly distributed light)
6. Composition Tips for Group Photos
Equipment aside, how you compose your group photo will make or break the shot.
Posing the Group
- Use rows: Taller people at the back, shorter in front or seated
- Avoid a straight line; instead, go for triangular formations or curved groupings for a more dynamic composition
- Watch for head gaps and overlap
- Give everyone a reason to smile—natural expressions always win
Framing and Background
- Choose a simple background that doesn’t distract from the group
- Ensure there’s enough space around the edges so no one gets cropped out
- Check the horizon—keep it level to avoid a slanted look
7. Extra Equipment (Optional but Helpful)
Here are a few more items that can elevate your group photography:
Reflector
- Bounces light to reduce harsh shadows
- Collapsible and easy to carry
External Flash or Speedlight
- Adds light in dim settings
- Great for fill light outdoors
Light Stands & Umbrellas
- Useful for studio-like setups
- Distribute light evenly on large groups
Spare Batteries and Memory Cards
- Avoid the nightmare of running out of juice mid-session
- Always carry extras, especially for longer shoots
Final Thoughts
You don’t need a truckload of expensive gear to take an incredible group photo, but having the right tools for the situation—paired with good technique—can make a big difference. Start with your smartphone if that’s what you have, and build up from there as your needs and interest grow.
Remember, photography is as much about connection and creativity as it is about gear. Engage with your group, make them feel comfortable, and most importantly—have fun with the process. With the proper setup and a bit of planning, you’ll be capturing unforgettable group photos in no time.
Summary Checklist:
- ✔ Smartphone or DSLR/Mirrorless
- ✔ Wide-angle lens (24–35mm recommended)
- ✔ Tripod for stability
- ✔ Remote shutter release or timer
- ✔ Reflector or flash if needed
- ✔ Spare batteries and memory
- ✔ Good light, natural expressions, and great composition


